I made a Lenovo 510s homelab upgrade to keep “Lil Beast” flexible for the future. I switched from 2×8 GB to a single 16 GB RAM stick and added a 4 TB HDD for bulk storage. This gives me a clean path to 32 GB later and enough capacity to host storage heavy services.
Back in December I introduced my first homelab PC, the Lenovo 510s (“Lil Beast”) with an i5‑8400. You can read the build details here:
👉 My First Homelab PC: “Lil Beast” — Lenovo 510s (i5‑8400)
Today’s post is a quick log of two small but meaningful upgrades that set me up for bigger plans:
What changed
- RAM: 2 × 8GB → 1 × 16GB
- Storage: Added a 4TB HDD
Why these upgrades?
1) RAM: creating headroom + a clean upgrade path
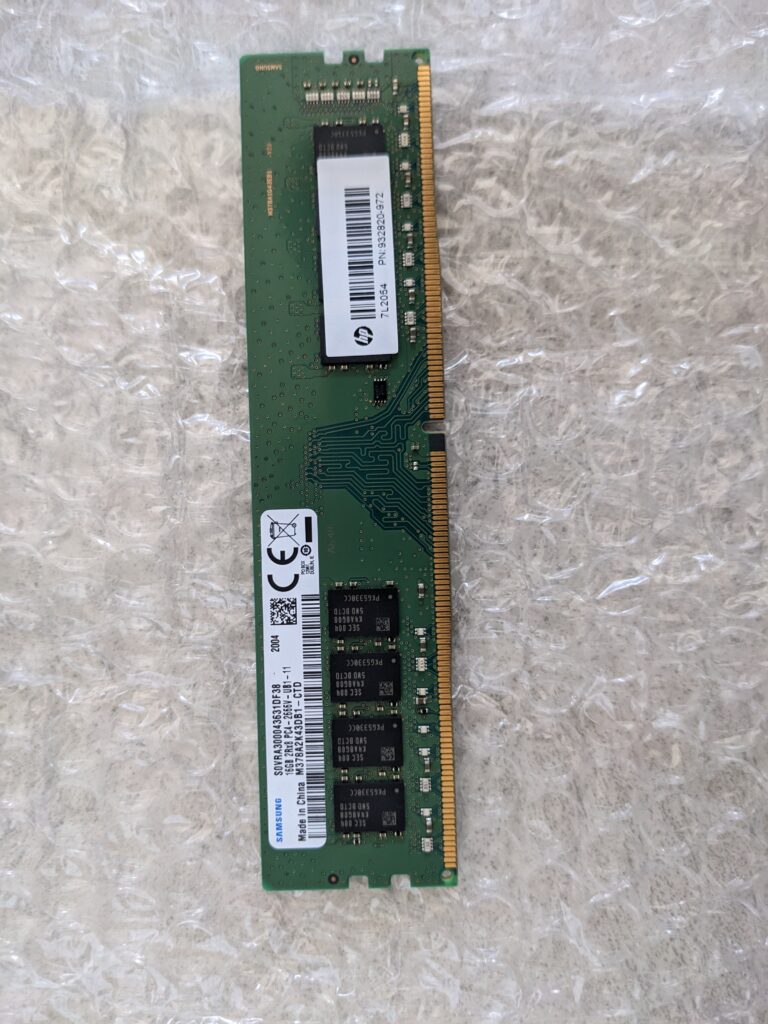
I consolidated memory to a single 16GB stick. In the short term, this keeps total RAM at 16GB, which is enough for a light Docker stack and a few services. Longer term, this leaves the second DIMM slot free so I can drop in another 16GB and move to 32GB without waste. I’m going with Samsung UDIMMM378A2K43DB1-CTD since it is the most affordable RAM I can get now.
Note: With one stick I’m running single‑channel for now; dual‑channel comes back when I add the second 16GB. For typical homelab services (containers, lightweight VMs, backups), single‑channel is fine; memory‑bandwidth‑sensitive workloads may see modest gains once I add the second DIMM.
2) 4TB HDD: enabling storage‑heavy services
I got myself a WD Purple HDD, which I myself is unsure whether it is appropriate for my usage. It is an extra unit from someone I know who did Chia. It is rated for 24hrs usage, and for 20$, it is a bang for my buck. The new 4TB HDD gives me room for:
- Media servers and photo libraries (e.g., Jellyfin/Emby, Immich)
- File sync/storage (e.g., Nextcloud)
- Document archiving (e.g., Paperless‑ngx, local backups)
SSD/NVMe is still best for VM disks and databases because of random I/O; the HDD is perfect for bulk data and cold storage. I can also layer SSD caching later if needed, which will be sweet for my Lenovo 510s homelab upgrade in the future.
How I installed the upgrades
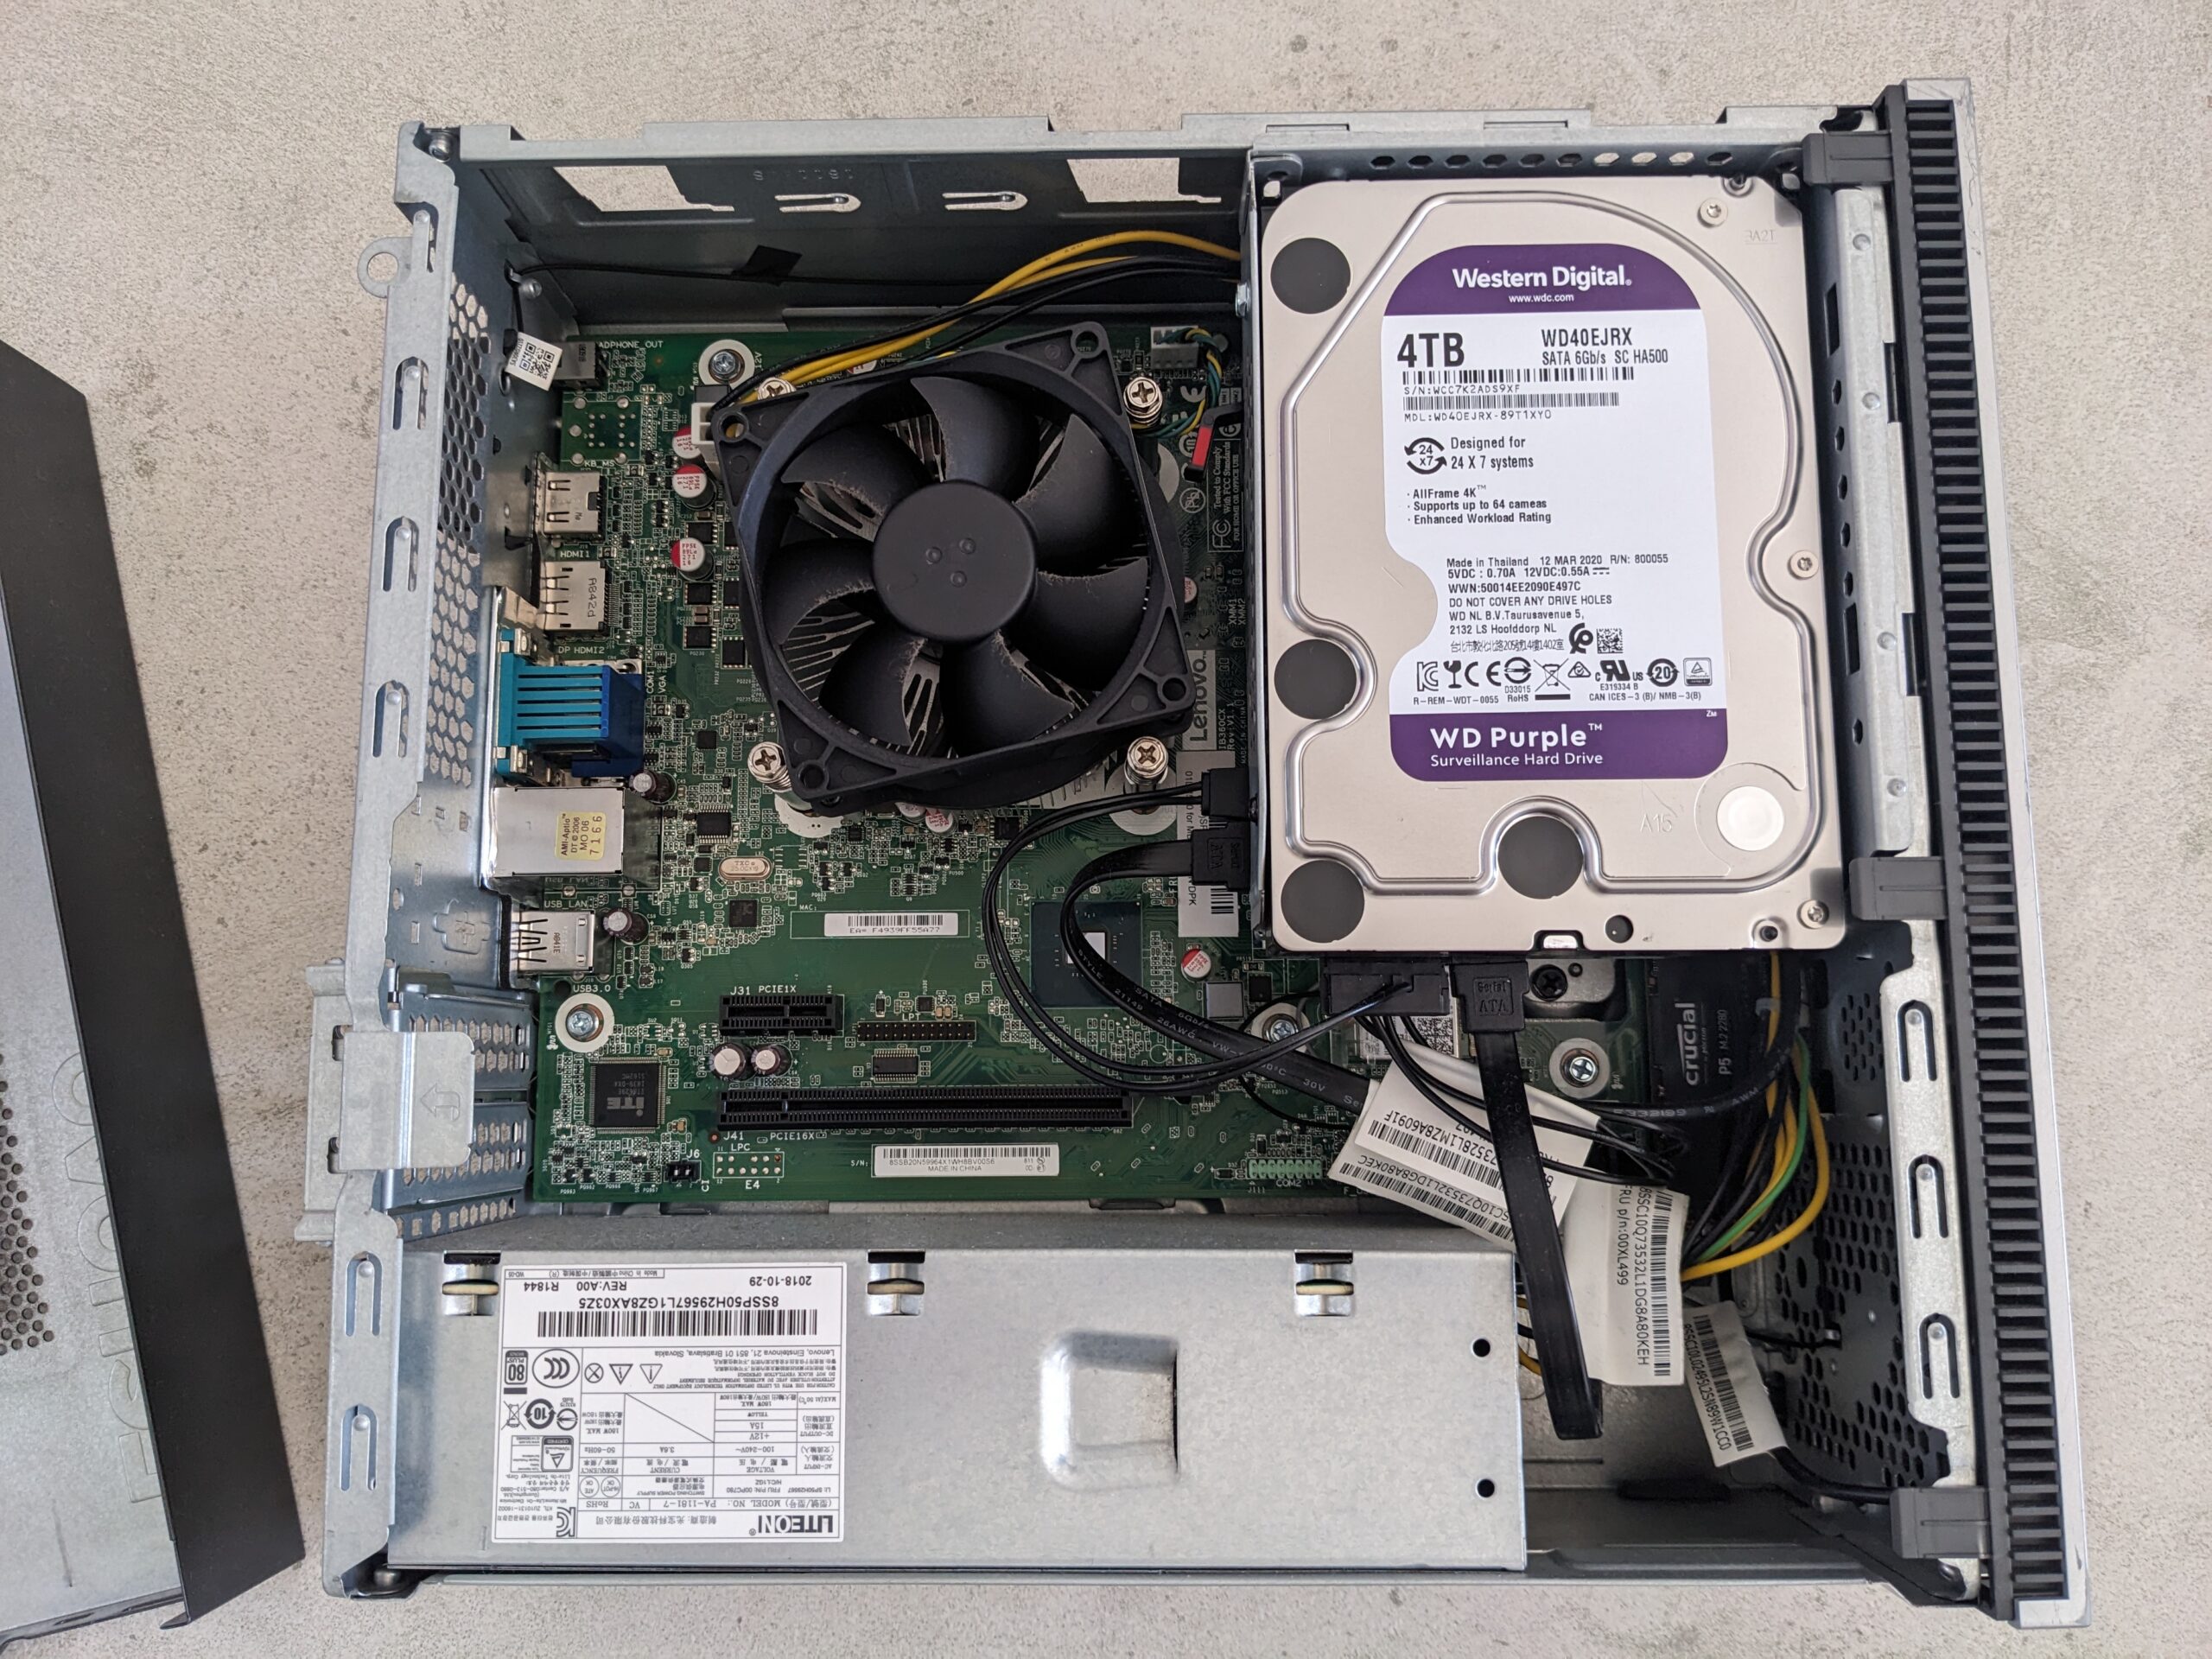
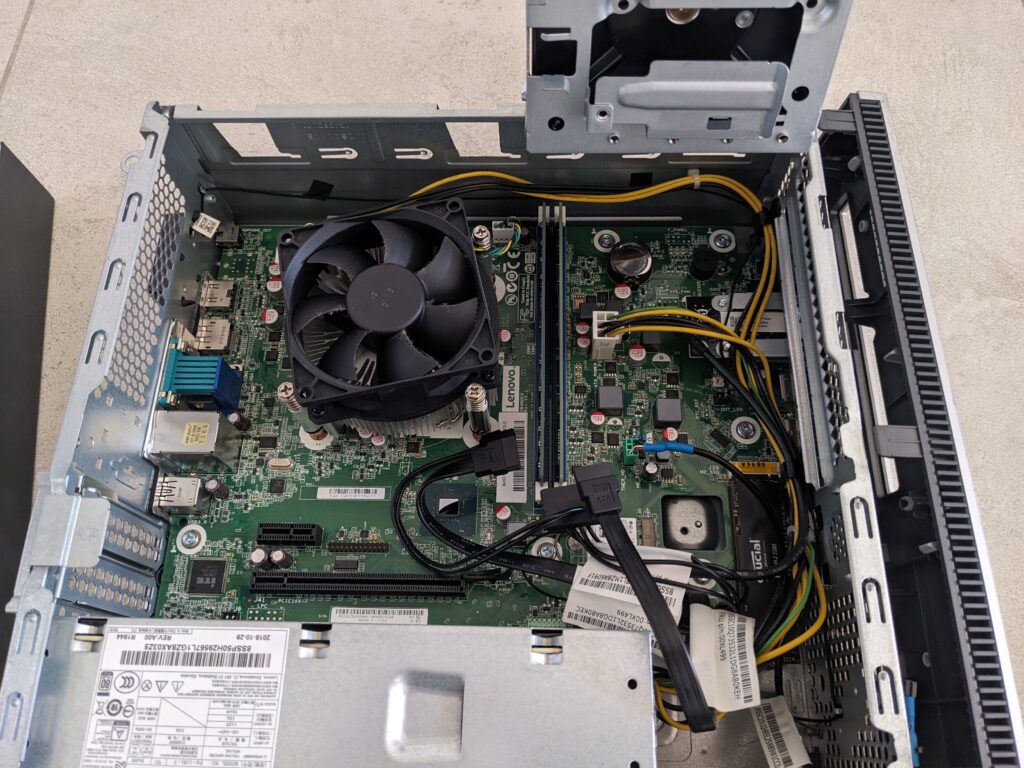
Model and layout
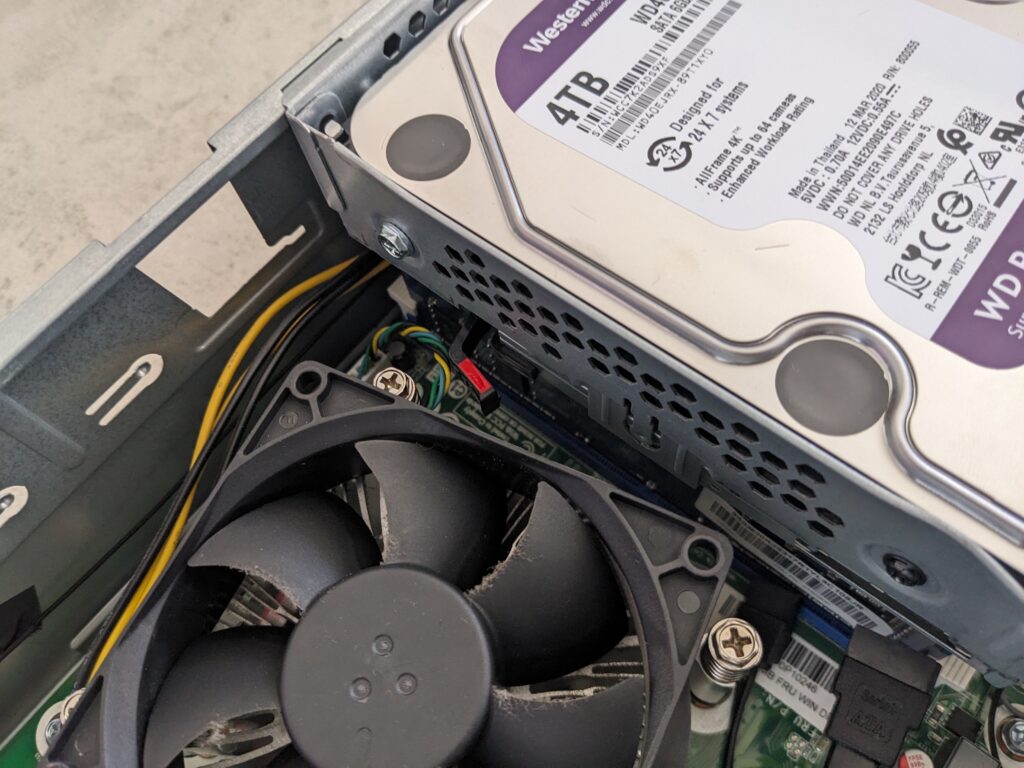
Lenovo 510s (SFF). The RAM slots sit under the HDD cage. The HDD cage is combined with the slim optical disk mount, so you cannot reach the DIMMs until you swing the cage out.
Tools and prep
- Small Phillips screwdriver, a tray for screws
- Power down, unplug, and hold the power button for ten seconds to discharge
- Place the side panel on a towel to avoid scratches
1) Open the case and create access
- Remove the side panel
- At the back of the case there is a single retaining screw for the left side panel.
- Loosen that screw, slide the panel back, then lift it off.
- Free the combined drive cage
- Locate the drive cage screw and remove it first.
- Disconnect the SATA data and power cables that feed the slim optical disk mount.
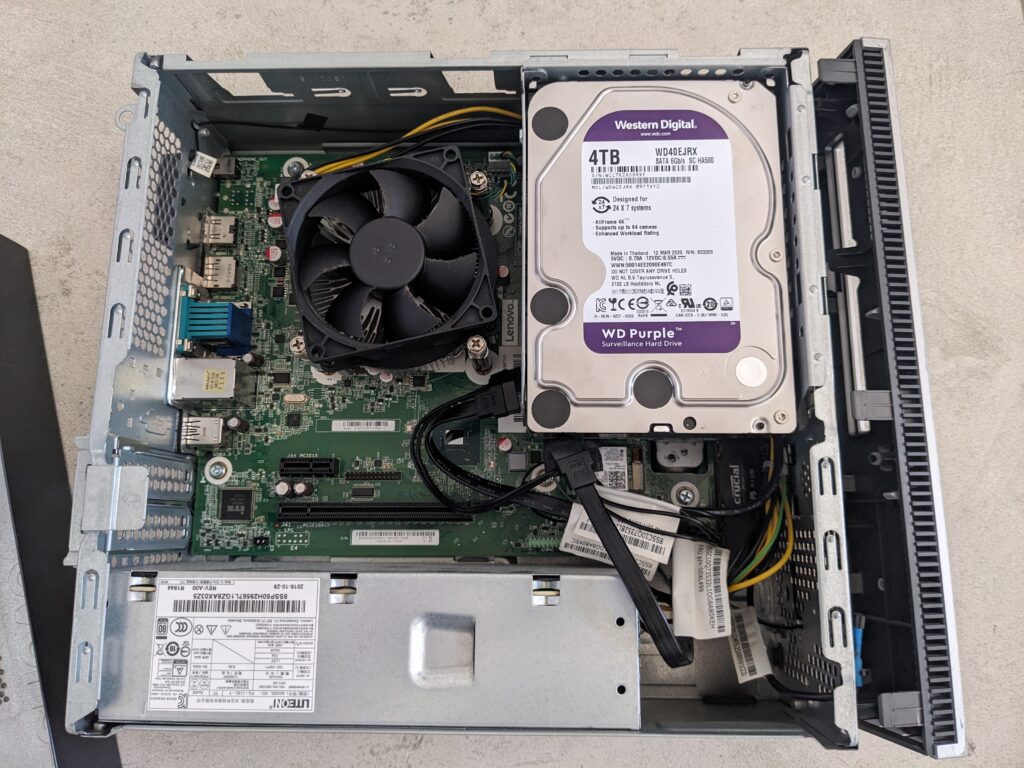
- With the optical drive cables removed, you can swing the drive cage out to expose the area beneath.
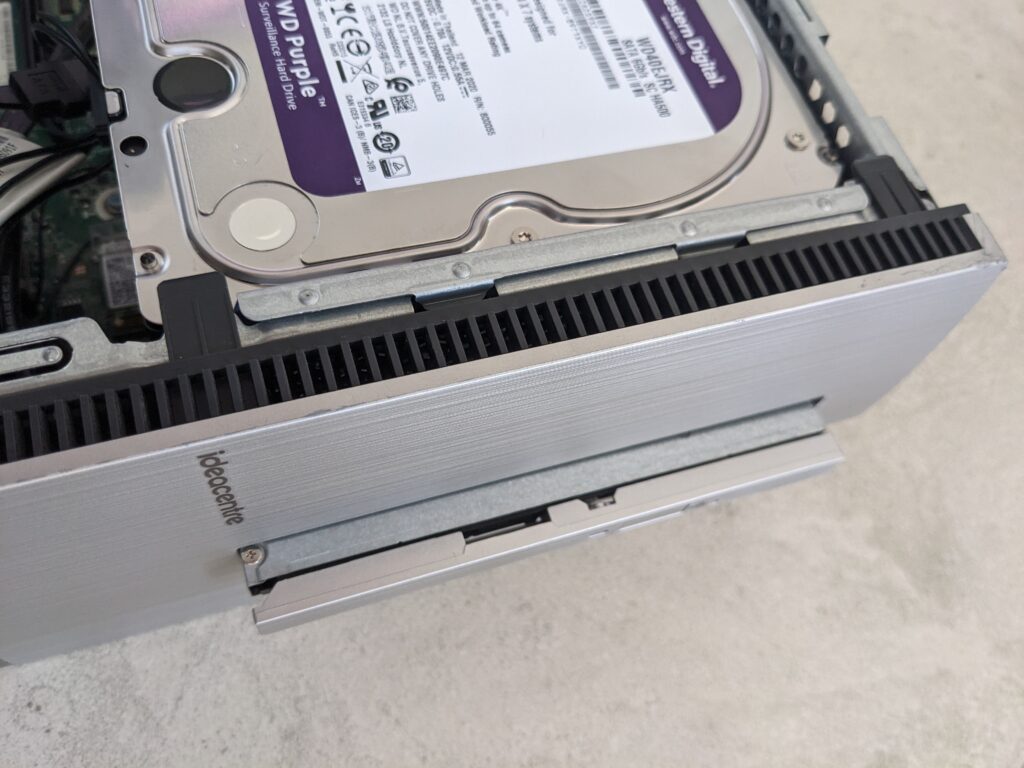
- If the cage sticks
- The cage can be stuck if the optical disk is not fully released.
- Slightly open the front panel to give clearance, then the cage will swing out cleanly.
At this point you should have clear sight of the motherboard area under the cage and full access to the DIMM slots.

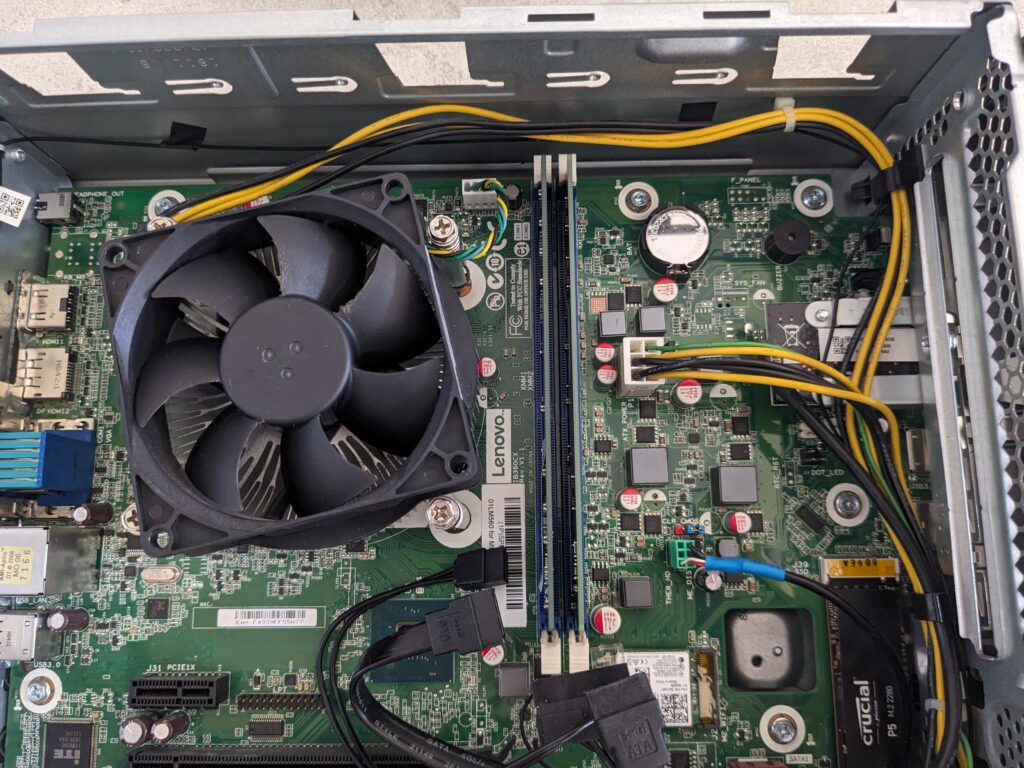
2) Install the RAM
- Take out the original RAM units.
- Identify slot 2 and use that DIMM slot. Lenovo’s documentation or service sticker often recommends this sequence.
- Align the notch on the 16 GB Samsung stick with the key in the slot.
- Press down evenly on both ends until the latches click.
- Check that no cables are pinched under the module.
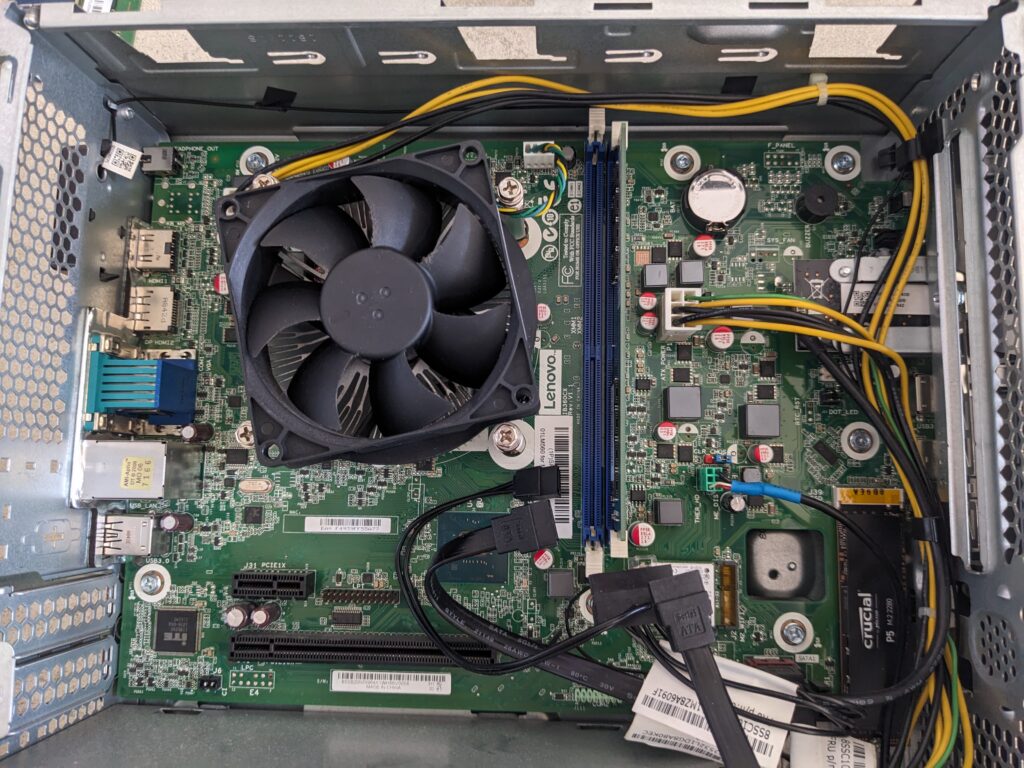
Clearance report
There were no clearance issues with the Samsung RAM in this unit.
3) Install the 4 TB HDD
- Place the HDD in the 3.5 inch bay within the combined cage.
- Secure the drive with four standard HDD screws.
- Use SATA port 2 on the motherboard. SATA port 1 is already used by the slim optical disk.
- Connect the built‑in SATA data and power cables. This model has cables cut to an optimized length.
- Route cables along the chassis edges so they do not foul the fan or catch on the side panel.
4) Reassemble
- Swing the drive cage back into position and tighten the drive cage screw.
- Reconnect optical disk SATA and power cables.
- Press the front panel back so the clips seat.
- Refit the side panel and tighten the single rear screw.
5) Verify in BIOS and the OS
- Power on and enter BIOS. Confirm total memory reads as 16 GB.
- Confirm the storage list shows the 4 TB HDD.
- Boot into the OS. In Windows you can confirm memory in Task Manager.
- Initialize and format the new disk, create the mount point, and add the fstab entry if you use Linux.

Gotchas and tips
- The cage will not swing out until the optical disk is truly released and its cables are unplugged.
- Even after releasing the optical disk, the front panel may need to be opened slightly, otherwise the cage still catches.
- The combined cage makes the process linear. Side panel off, cage screw out, optical cables off, swing cage out. Only then do the DIMM slots appear.
What’s next?
- RAM to 32GB (adding a second 16GB stick) to regain dual‑channel and give more VM headroom.
- Consider mirroring or parity (another HDD) if I decide to store anything mission‑critical. Since this PC only supported 1 HDD mount, I might consider going DAS route.
- Set up scheduled backups (local + offsite) so the 4TB doesn’t become a single point of failure.
- A front panel fan mod to keep thing inside cool.
What do you guys think I should add for my Lenovo 510s homelab upgrade?
Leave a Reply