This post is about my Lenovo 510s 32 GB RAM Jellyfin upgrade. Recently, I found a matching 16 GB DDR4 stick for 50 USD, which is rare these days as AI demand keeps pushing memory prices around. Because of that, upgrading RAM whenever I can is my top priority. With the second stick installed, Lil Beast now runs in dual channel and I have 32 GB total. As a result, Jellyfin should feel better with this setup, especially when I transcode. Meanwhile, I will share more about my Jellyfin server soon since I have not written about it yet.
This week my timeline turned into a lobster parade. Everyone was talking about Clawdbot, sharing screenshots, “AI employee” stories, and lots of 🦞 energy. I’m a beginner homelabber, and I’m also the kind of person who clicks when the internet gets loud. So I did what I always do. I started reading, watching, and trying to understand what this thing actually is.
Recap of Part 1: In Part 1 I explained why I chose Docker on my Windows 10 PC and how a containerized WordPress lets me learn safely without touching my live site. In this follow up, we install Docker Desktop, run a quick test, then start WordPress with Docker Compose.
Why run Docker WordPress on Windows 10
If you want a clean and isolated WordPress to test themes, plugins, or migrations, Docker on Windows 10 is a simple and repeatable approach. It keeps experiments in a sandbox, so your main system remains untouched. You can start fresh at any time. In my case, this setup is run on Lil beast.
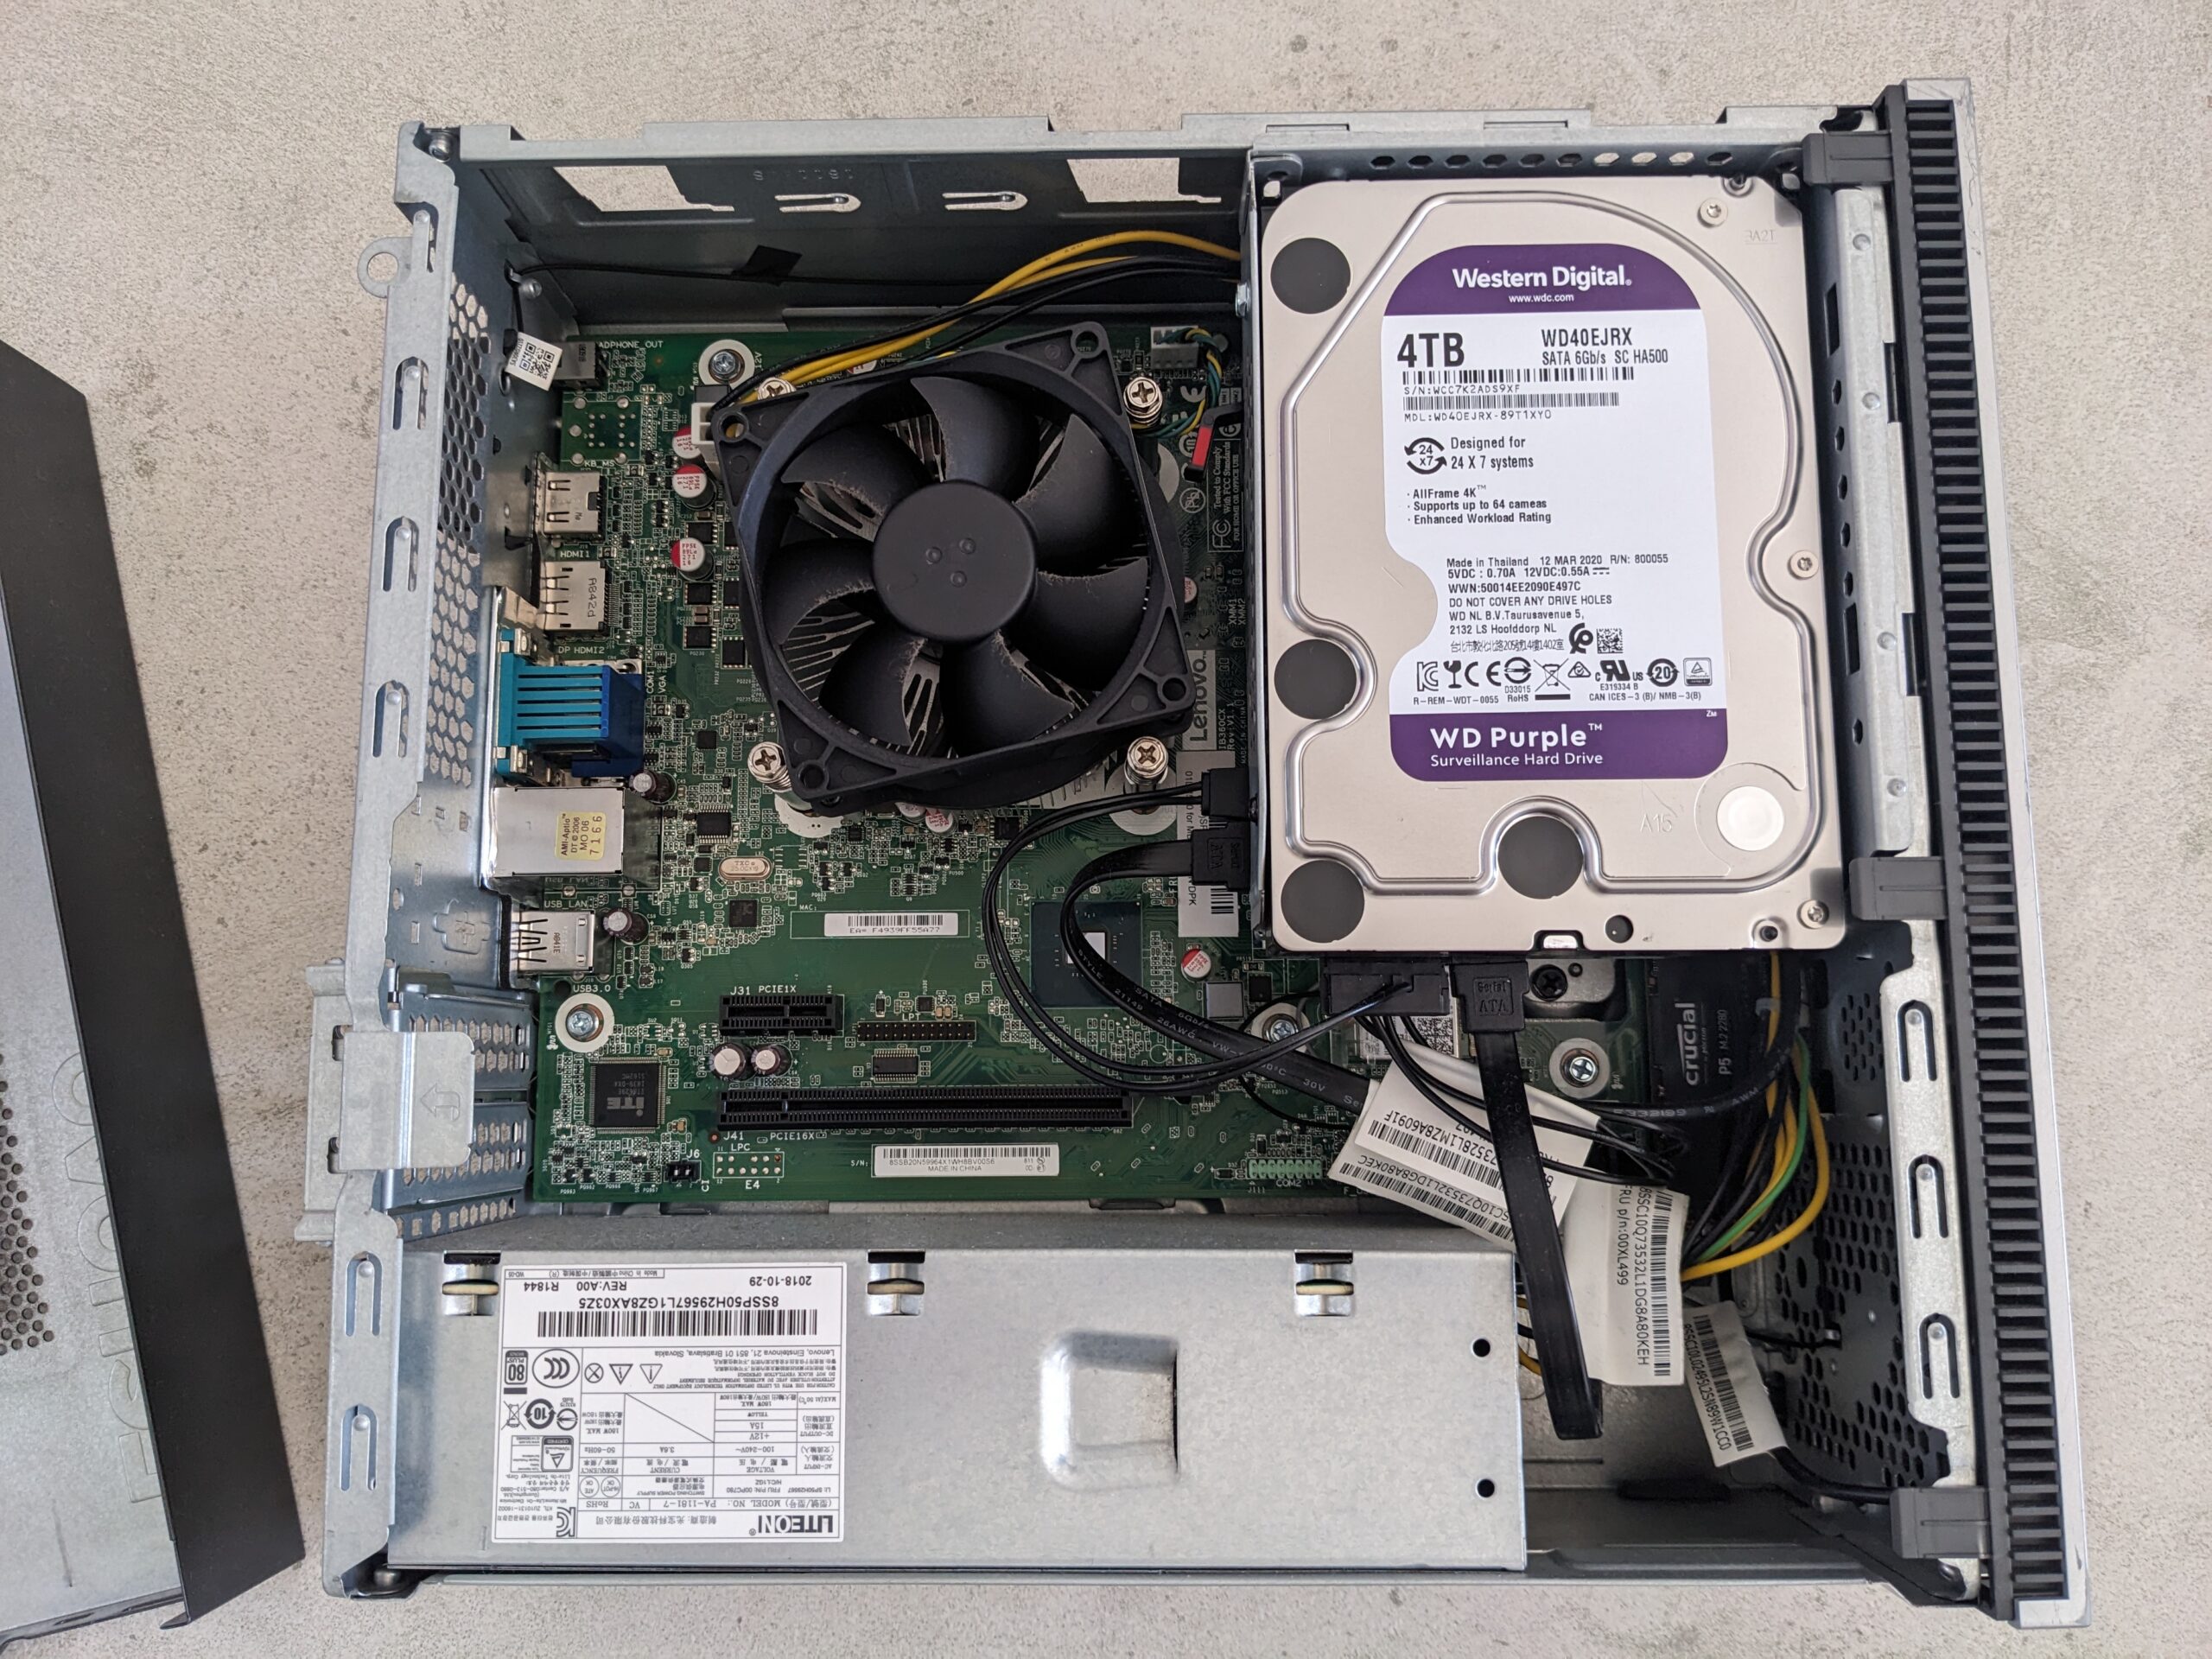
I made a Lenovo 510s homelab upgrade to keep “Lil Beast” flexible for the future. I switched from 2×8 GB to a single 16 GB RAM stick and added a 4 TB HDD for bulk storage. This gives me a clean path to 32 GB later and enough capacity to host storage heavy services.
I’ve always been that person who loves tinkering with tech, whether it’s hardware or software. I enjoy figuring out how things work. Recently, I decided to take on something that has been sitting on my “must-try” list for a long time: Docker.